
Cummins PT Fuel System Pressure Testing Methods and Normal Parameter Ranges
The PT fuel system is one of the most important systems on a Cummins engine. It meters fuel by combining fuel pressure with injection timing, so even a small pressure change can affect engine performance. When the pressure falls outside the normal operating range, common symptoms include difficult starting, reduced power, excessive black smoke, increased fuel consumption, and unstable engine operation.
Because of this, fuel pressure testing is usually one of the first checks technicians perform during troubleshooting. A simple pressure test can quickly indicate whether the problem is related to the fuel pump, the fuel supply circuit, or the return system, helping avoid unnecessary parts replacement and reducing diagnostic time.
This guide explains how to test PT fuel system pressure correctly, where to connect the gauge, and the typical pressure ranges you can expect under different operating conditions.
Preparation Before Testing
Before starting the test, prepare a fuel pressure gauge rated for 0–300 psi (0–20 bar) and the correct adapter for the PT fuel pump test port. It is also helpful to have spare sealing washers, clean shop rags, and a tachometer available during the procedure.
Check that the fuel tank contains clean diesel, the fuel filters are in good condition, and the fuel return line is free from restrictions. These basic checks help ensure the pressure readings accurately reflect the condition of the fuel system.
Always follow standard safety precautions when working on the fuel system. Diesel fuel can ignite under certain conditions, so keep the work area away from open flames and other ignition sources. Tighten all fittings securely before starting the engine to prevent leaks or fuel spray. For the most consistent results, record whether the pressure readings were taken with the engine cold or at normal operating temperature, as values may vary slightly between the two conditions.
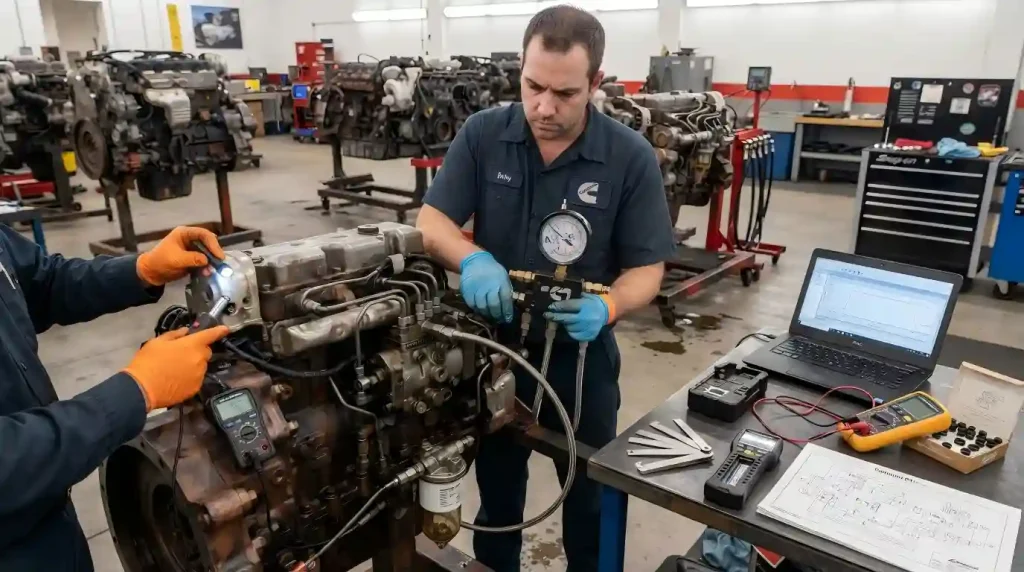
On-Engine Pressure Testing Methods
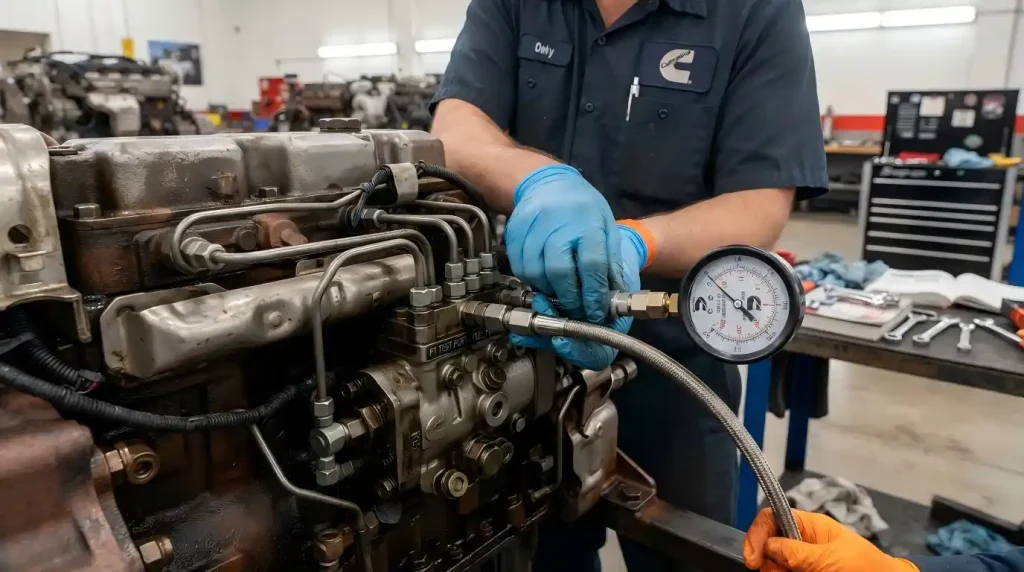
The fuel pressure gauge is usually connected to the test port located on the side of the PT pump near the fuel shut-off valve. On some Cummins PT engines, pressure can also be measured from the fuel manifold, depending on the engine configuration.
Begin with a cranking pressure test. After connecting the gauge, prevent the engine from starting by closing the fuel shut-off valve or disconnecting the injector supply lines. Crank the engine with the starter motor and monitor the pressure reading. Under normal conditions, cranking pressure should reach at least 25 psi (approximately 1.7 bar). A noticeably lower reading may indicate a restricted fuel filter, air entering the suction side of the fuel system, or excessive wear in the gear pump.
Once the engine starts, allow it to warm up and stabilize at normal idle speed, typically around 600–700 rpm on many PT-equipped engines. Fuel pressure at idle is commonly between 10 and 14 psi (0.7–1.0 bar), although the exact value depends on the pump calibration. More important than the number itself is the stability of the reading. The pressure should remain steady rather than fluctuate continuously.
The final step is to check fuel pressure at rated speed or high idle. Increase the engine speed to its rated rpm and record the reading after it stabilizes. On many PT systems, pressure will rise to around 25–30 psi or higher, depending on the pump specification. The pressure should increase smoothly as engine speed rises and remain stable at higher rpm. If the engine can be tested under light load, compare the readings with those taken at no load. A noticeable pressure drop under load often indicates that the fuel supply system cannot deliver enough fuel to meet engine demand.
Typical Reference Pressure Ranges
Fuel pressure specifications vary by engine model, PT pump type, and calibration code, so the values below should be used as general reference points rather than absolute limits. Whenever possible, confirm the correct specifications using the PT pump data plate, the engine service manual, or an official calibration sheet.
| Test Condition | Typical Reference Range | Remarks |
| Cranking | ≥ 25 psi (1.7 bar) | Minimum pressure for normal starting |
| Idle | 10–14 psi (0.7–1.0 bar) | Common range for many PT-equipped engines |
| Rated Speed / High Idle | 25–30 psi or higher | Varies with pump calibration and engine application |
Keep in mind that pressure readings taken on the engine are typically lower than those measured on a calibrated fuel pump test stand. During troubleshooting, consistent pressure and a smooth increase as engine speed rises are often more meaningful than matching an exact value.
If you need model-specific specifications for engines such as the NT855, K19, or M11, consult the appropriate Cummins service manual or the original PT pump calibration documentation for the most accurate reference values.
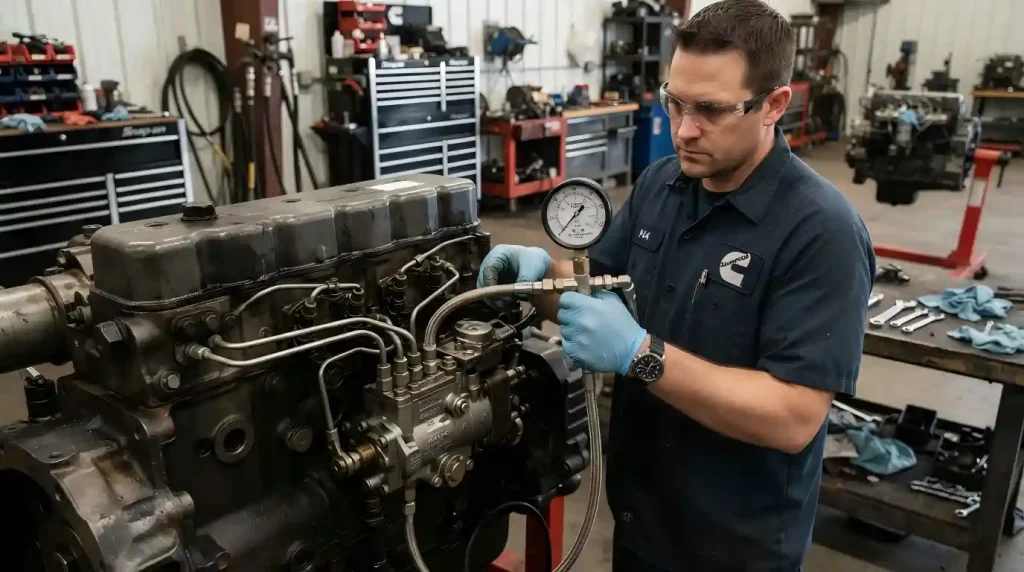
Interpreting Abnormal Pressure Readings
A pressure reading below the normal range usually indicates that the fuel supply is being restricted or that the pump is unable to maintain adequate pressure. Blocked fuel filters, air leaks in the suction line, gear pump wear, a leaking pressure regulator, and internal fuel leakage are among the most common causes. Fuel that is excessively hot or of poor quality can also affect the reading. In most cases, it is best to begin with the fuel supply system before moving on to the PT pump and the return circuit.
Excessively high fuel pressure is seen less often. When it does occur, the problem is typically found in the return side of the system. A restricted return line, a sticking return check valve, or a pressure regulator that fails to open correctly can all cause pressure to rise above normal. Inspect the return circuit carefully before considering pump-related faults.
Pressure that rises and falls repeatedly instead of remaining steady usually indicates that the fuel system is drawing in air or that a component is no longer damping pressure pulses effectively. A worn gear pump can produce similar symptoms. If air intrusion is suspected, pay close attention to hose connections, fittings, and sealing surfaces, as even a small leak can cause unstable pressure readings.
When a Test Stand Is Needed
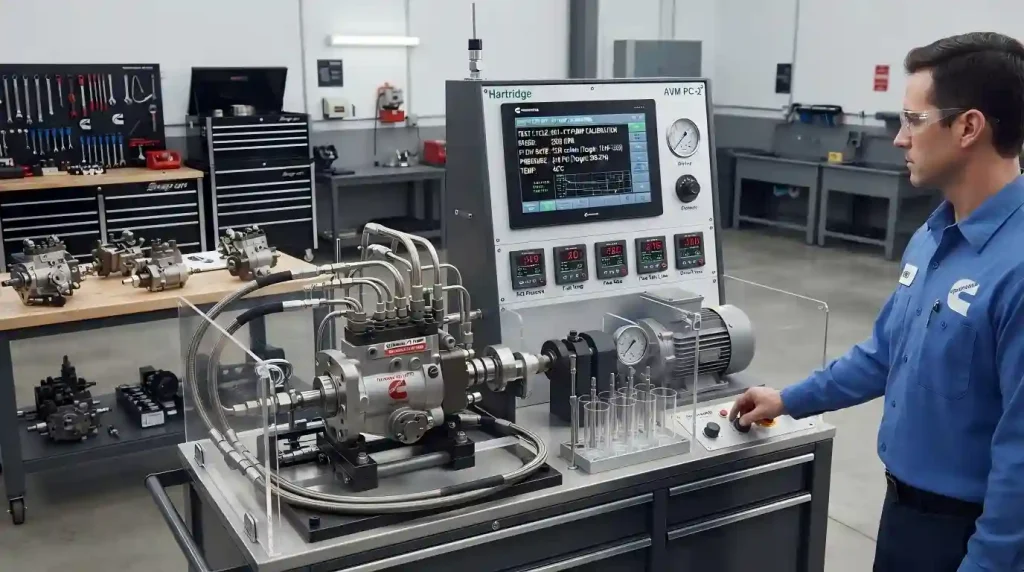
An on-engine pressure test is an effective way to identify potential fuel system problems, but it cannot verify every aspect of PT pump performance. If the measured pressure is consistently outside the expected range, or the pump has recently been rebuilt or major fuel system components have been replaced, a bench calibration on a PT test stand is recommended.
Compared with on-engine testing, a calibrated test stand provides a much more complete evaluation of the pump. It can accurately verify fuel delivery, operating pressure, idle settings, governor cut-off speed, and AFC performance under controlled conditions.
It is also worth remembering that normal pressure readings do not always mean the pump is operating correctly. A PT pump may produce acceptable pressure on the engine while still delivering an incorrect amount of fuel because of internal wear or calibration drift. In these situations, a test stand is the only reliable way to confirm that the pump is adjusted to the manufacturer’s specifications.
After the Test
Once the test is complete, remove the pressure gauge, reconnect all fittings, and check the system carefully for fuel leaks before returning the engine to service.
Record the pressure readings together with the engine speed and test conditions. Keeping these records helps with future troubleshooting and makes it easier to identify changes in fuel system performance.
If the pressure readings are outside the normal range, inspect the fuel supply system and related components before replacing the PT pump. For model-specific guidance or PT fuel system components, contact Longshine team for technical support and product assistance.