
Cummins Head Gasket Repair: 7 Steps to Fix It Right
Let’s get one thing straight about Cummins head gasket repair. It doesn’t start with pulling the head. It starts before that. Way before.
You have to know what you’re dealing with first. A failed gasket can send combustion gases, coolant, or oil across the seal. Into places they absolutely do not belong. Keep running it without fixing the root cause? You’re asking for trouble. Overheating. A warped head. Maybe even internal damage that turns into a very expensive paperweight.
Diesel engines run hard. High cylinder pressure. Heavy loads. So the seal has to be rock solid. Doesn’t matter if it’s a 5.9L or 6.7L pickup. Or a heavy-duty industrial engine. Marine. Generator. Same rules apply.
Here’s what we’ll cover. The warning signs. A diagnostic sequence that actually works. How to pick the right parts. And a standard seven-step repair process that gets your engine back up and running. Safely.
What Are the Signs of a Bad Cummins Head Gasket?
Catch it early. That’s the whole game. Spot the symptoms before they snowball, and you might avoid a full rebuild.
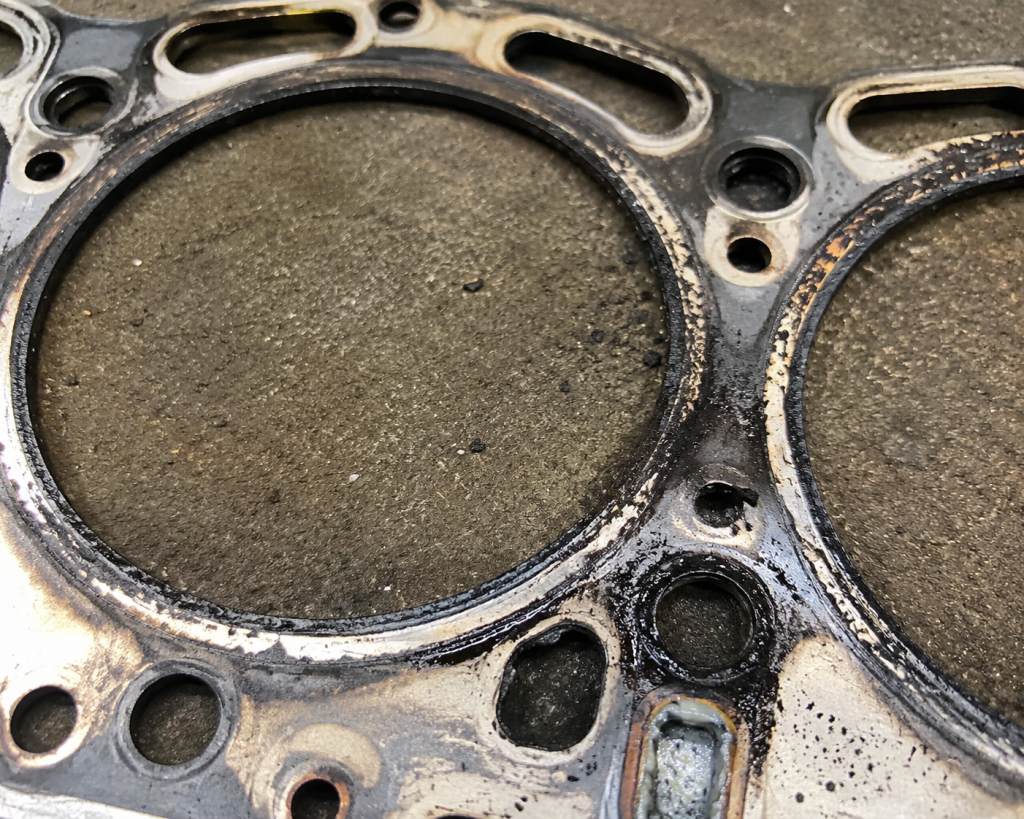
So what do you look for?
Thick white exhaust smoke. This usually points to coolant sneaking into the combustion chamber. Pay attention if it keeps smoking even after the engine warms up. That’s not normal.
Cooling system pressure spikes too fast on a cold start. Feel the hoses. If they’re rock hard almost immediately, something’s wrong. Or maybe the reservoir pressure jumps way too quickly.
Coolant disappears. No puddles. No drips. You keep filling it. It keeps going somewhere. But there’s no sign of a leak on the ground. That’s internal.
Bubbles. In the coolant reservoir. Constantly. You bled the system properly. Air should be gone. But bubbles just keep rising. That’s combustion gas.
Oil looks like a milkshake. Check the dipstick. Look under the oil fill cap. See that light brown creamy gunk? That’s coolant and oil mixing. Not good.
Overheating fast under load. Hit a hill. Step on it. Temp gauge shoots up. That’s usually combustion gas getting into the coolant, creating air pockets that block flow.
External seepage. Look right at the seam where the head meets the block. See coolant stains or oily residue? That’s a leak you can actually see.
Not Every Symptom Means a Bad Head Gasket
Here’s the catch. Other problems look a lot like a blown gasket.
A failed EGR cooler? It can dump coolant into the intake. White smoke shows up. But the gasket is fine. A stuck thermostat or a failing water pump can cause overheating. Again, not the gasket. And a cracked oil cooler? That’ll mix oil and coolant too.
So don’t just assume. Run proper tests first. Otherwise you might do a ton of work for nothing.
How Do You Diagnose a Cummins Head Gasket?
Follow a sequence. Don’t skip steps. Don’t guess.
Go in this order: visual check → pressure test the cooling system → test for combustion gases → do a cylinder leak-down test → pull the head (but only when you’re sure).
Here’s a quick table to help you connect symptoms to the right test.
| Symptom | Most Likely Cause | Recommended Test |
| White exhaust smoke | Coolant entering cylinders | Pressure test cooling system / Leak-down test |
| Coolant loss, no visible leak | Internal or external leak | Pressure test + visual inspection |
| Bubbles in reservoir | Combustion gases in coolant passages | Combustion gas test / Leak-down test |
| Milky oil / Emulsified oil | Coolant mixing with oil | Oil cooler pressure test / Inspect gasket |
| Engine overheating | Air pockets, restricted flow, or blown gasket | Check thermostat/water pump + pressure test |
What Parts Do You Need for Cummins Head Gasket Repair?
Head Gasket or Upper Gasket Kit?
Think about what you’re actually replacing.
Just the head gasket? And you didn’t disturb anything else? Then a single gasket is fine.
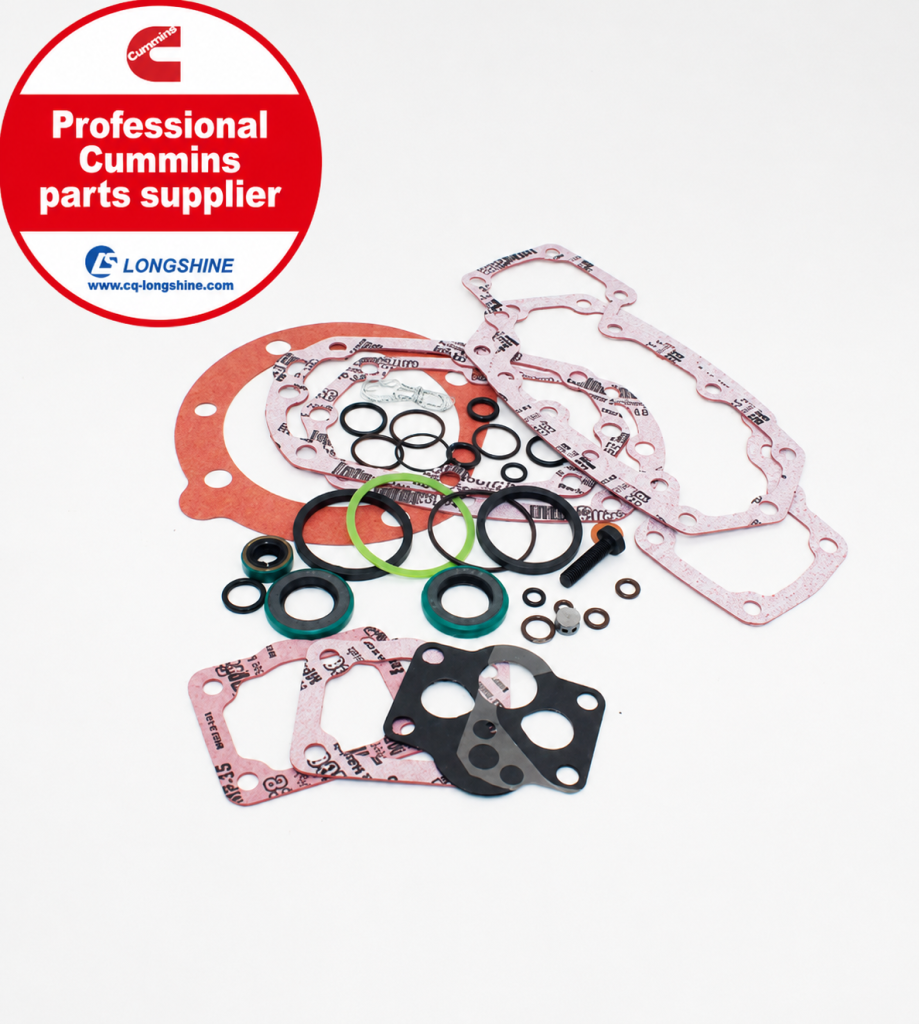
But if you’re sending the head to a machine shop? Or you pulled the intake, exhaust, or fuel lines during disassembly? Spend a little more and get an upper gasket kit (head set) . That covers every seal you touched. No chasing down individual gaskets later. Saves time. Saves headaches.
Head Bolts or Head Studs?
Stock power levels? Standard use? Stick with OEM fasteners.
But here’s the thing. Many OEM head bolts are torque-to-yield. That means they stretch when you torque them. Reuse them and you’re gambling. Replace them. Always.
Building for more boost or extra power? Check out this comparison of OEM vs. aftermarket Cummins engine parts before you decide. High-strength studs give you more clamping force. But they need a specific torque procedure. You can’t just slap them in and call it done.
Match the Gasket to ESN and CPL
This is where people mess up.
Don’t order by displacement. Don’t order by model year. Cummins has tons of engine configurations. Gaskets can differ. Thickness. Sealing design. Coolant openings. Bore size.
You need the engine serial number (ESN). And the control parts list (CPL) number. Use both. That’s how you guarantee the gasket is exactly right.
How to Repair a Cummins Head Gasket: 7 Steps
Step 1. Drain Fluids and Prepare the Engine
Disconnect the battery negative cable. Drain the coolant completely. Then drain the oil. Why? Keeps fluids from cross-contaminating when you pull the head.
Clean up the engine bay. Mark hoses, lines, and wiring connectors. Cap off open fuel lines and intake ports. Keep dirt out while you work. Future you will appreciate it.
Step 2. Remove the Cylinder Head
Pull out the service manual for your engine. Follow the recommended sequence.
Remove the intake manifold. Exhaust manifolds. Injectors. High-pressure fuel lines. Take off the valve cover. Rocker arm assembly. Pushrods. Keep everything in order. That way reassembly goes smoothly.
Then remove the head bolts. Use a lifting device. Pull the heavy iron head straight up and off the block. Don’t pry. Don’t force it. You can damage the mating surfaces.
Step 3. Inspect the Head, Gasket, and Block
Look at the old gasket. Carefully. Check for blow-out marks. Fire ring damage. Uneven impressions.
Get a precision straightedge and a feeler gauge. Check the cylinder head deck for flatness. Check the block deck too. This step is non-negotiable.
One more thing. Never use a high-speed wire brush or coarse sanding disc to clean surfaces. You’ll gouge the metal and ruin the seal.
Step 4. Repair or Replace Damaged Components
Flatness within spec? Clean both surfaces thoroughly. Follow OEM specs. Then install the new gasket.
Head is warped? Send it to a reputable machine shop for resurfacing. But watch the limits. Minimum head thickness. Valve recession. Stay within spec.
Cracked casting? Deep pitting? Replace the head. Or have the block deck repaired. Don’t try to patch it with sealant. That won’t hold.
Step 5. Install the Correct Head Gasket
Use a thread chaser. Clean out the head bolt holes in the block. Remove dirt, oil, and trapped coolant.
Check the dowel pins. Make sure they’re in good shape.
Position the new gasket. Clean and dry. Follow OEM orientation and alignment exactly.
Lower the cylinder head straight down. Gently. Don’t slide it around once it touches the gasket.
Step 6. Torque the Head and Reassemble
Read your Cummins service manual. Follow fastener thread treatment and contact surface prep.
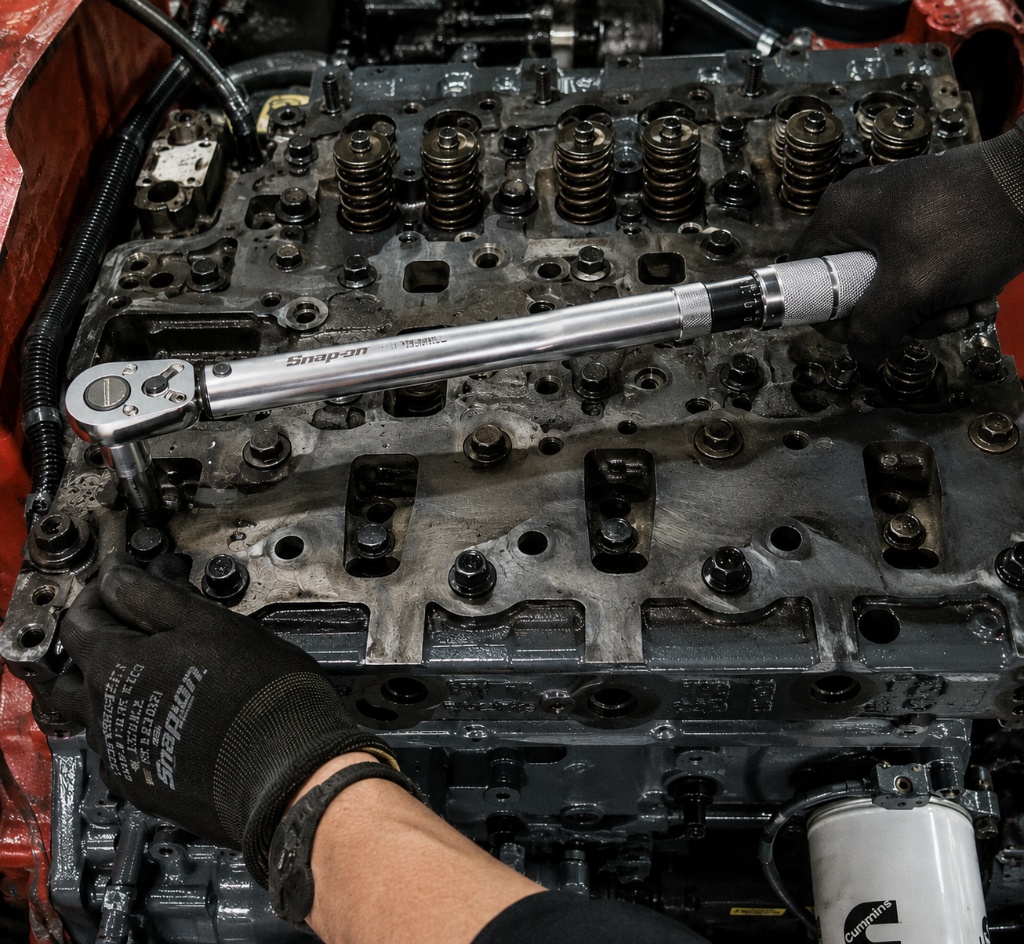
Stick to the OEM torque sequence. Torque steps. Angle specs. Exactly. No shortcuts. No guessing.
Set the valve lash to spec. Reinstall pushrods, fuel system components, and manifolds. Double-check everything.
Step 7. Test the Engine After Repair
Fill with fresh oil and coolant. Start it up. Watch the oil pressure gauge like a hawk. Check for leaks immediately.
Let the engine reach operating temperature. Verify the cooling system builds normal pressure. No excessive bubbling.
Only then do you return to full load operation. Take it easy for the first run or two.
How Much Does Cummins Head Gasket Repair Cost?
A few things drive the final number.
Gasket and kit cost. Single gasket or complete upper set? That matters.
Fastener cost. New OEM torque-to-yield bolts or premium studs? Big difference.
Machine shop fees. Pressure testing. Crack checking. Resurfacing. Re-cutting valve seats. Adds up.
Labor time. Access is everything. Pickup truck? Not too bad. Industrial engine tucked in a generator set? That’s a different story.
Secondary damage repairs. Cracked head. Damaged block deck. Flushing a contaminated oil system. All of these push the cost up.
So the final price? Depends on the exact engine model. The workspace. Head condition. Whether it needs machine work.
Why Does a Cummins Head Gasket Fail Again?
Fresh gasket. Fresh install. And it blows again? Why?
Usually one of these four things got overlooked.
The surfaces weren’t fixed. Warped deck. Pitted surface. Dirty metal. You put a new gasket on that, and combustion pressure finds the weak spot. Blows it out.
Torquing was sloppy. Or you reused old bolts. They stretch over time. Torque-angle sequence gets ignored. Clamping load isn’t even. The gasket can’t hold.
The overheating problem is still there. Bad thermostat. Failing water pump. Clogged radiator. You swapped the gasket but left the root cause. Engine overheats again. Kills the new gasket.
Wrong gasket for the engine. Incorrect thickness. Mismatched coolant openings. Restricted flow. Mechanical clearance issues. Everything goes sideways.
Need Help Identifying a Cummins Head Gasket with Longshine?
Reaching out to Longshine for a Cummins head gasket or seal kit? Here’s a tip.
Have your engine serial number (ESN) ready. CPL number too. Engine model. And the OEM part number if you’ve got it.
These details help us confirm the right gasket configuration for your engine. That simple step lowers the risk of ordering wrong parts. Dramatically.
For repair shops, distributors, and fleet buyers? Bulk orders. Specific rebuild projects. Longshine can support those too.
Just tell us your application. Vehicle. Industrial. Marine. Generator setup. We’ll match the right full seal kit. Work out a pricing plan that fits your project.